The advantage to pitching by video rather than live is that you get to edit the end result. Which is an enticing proposition! That also means the audience expects a high quality. So here are some tips for delivering your best video pitch:
Keep It Simple: Your Phone Is All You Need
Here’s the truth about recording a video pitch: you don’t need fancy equipment. You don’t need a DSLR camera or a professional studio setup. All you need is your phone.
Your phone camera is better than most webcams, easier to position, and something you already own. So before you start overthinking this, just use your phone.
Audio Is Everything
Before you work on anything else, the most important thing is your audio.
You can have perfect lighting, great framing, and a polished background, but if your audio is bad, none of it matters. People will tune you out and your opportunity to connect will be lost.
Here’s how to make sure your audio is clean and clear:
Wear headphones. Bluetooth or wired, either one works. Headphones help reduce echo and background noise, and they keep your audio focused.
Record in a quiet space. Close the door, turn off the TV, tell the kids to leave you alone for a bit. Make sure there’s no background noise competing with your voice.
Edit for clean sound. Once you’ve recorded your pitch, listen back and edit out any awkward pauses, background noise, or audio glitches. Clean, crisp audio makes a huge difference.
Lighting: Natural Light First, Ring Light Second
Once your audio is sorted, lighting is your next priority.
Remember the Game of Thrones episode where Jon and Dany fight the Night King? It was filmed at night and a major complaint from viewers (me included) is that it was too dark to see anything on screen!
Don’t be like those guys.
Natural light is always your best option. Position yourself facing a window so the light hits your face evenly. Avoid having the window behind you, that’ll turn you into a silhouette. You can also put yourself next to and slightly facing a window for nice even side lighting.
If you want to invest in a ring light, go for it. A small ring light ($20-30) can brighten your face and eliminate shadows. Just be careful if you wear glasses because ring lights can create glare. Position it in front of you, slightly above eye level, and adjust the angle to avoid reflections.
Avoid overhead lighting if possible. Overhead lights can cast harsh shadows on your face. But if you must record in a room with overhead lights, soften it by positioning yourself further away from directly underneath the light, or place a lamp in front of you to fill in the shadows on your face.
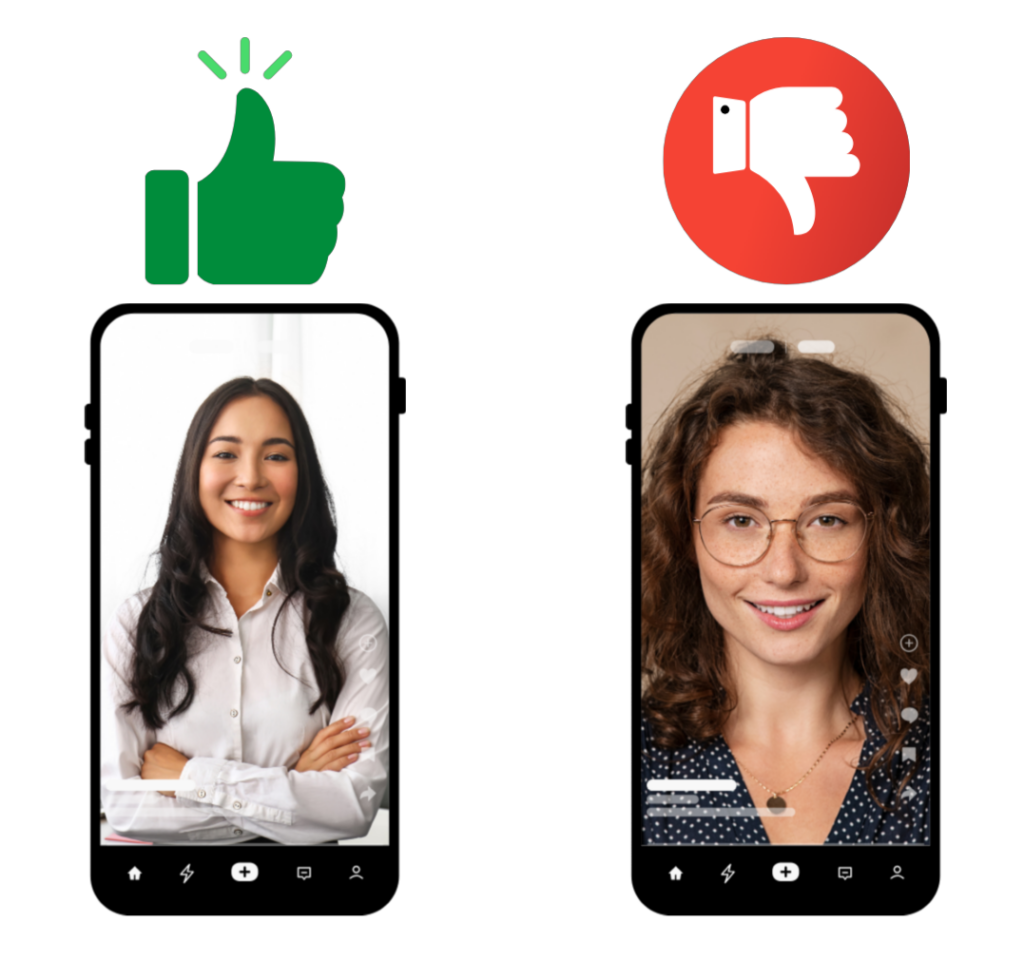
Framing: Give Yourself Some Breathing Room
When you’re setting up your shot, don’t position yourself too close to the camera. If your face fills the entire frame, it feels like you’re encroaching on the viewer’s personal space. And that’s uncomfortable.
Instead, leave a bit of negative space around you. Frame yourself so there’s room above your head and on either side. This makes the video feel more natural and less claustrophobic.
Pro tip: Position your camera at eye level or slightly above. If your camera is below your face, you’re giving everyone a perfect view of your nostrils. Not exactly the professional look you’re going for.
Background: Keep It Simple and Uncluttered
Your background should be clean and undistracting. That doesn’t mean it has to be boring! It just means it shouldn’t compete with you for attention.
Here’s what works:
- A plain wall. Simple and professional.
- A bookshelf. Adds a little personality without being overwhelming.
- A tidy workspace. If you’re recording at your desk, make sure there’s no clutter in the frame.
What doesn’t work:
- A messy room. People will be too busy looking at the pile of laundry in the corner to focus on what you’re saying.
- A distracting background. If there’s a busy street, a moving fan, or people walking behind you, it’s going to pull focus.
Edit It Down to 2 Minutes or LESS
Here’s the most important rule: your video pitch needs to be 2 minutes or less.
Not 2 minutes and 15 seconds. Not “close enough.” Exactly 2 minutes or shorter.
Why? Because when your video is played for the Pitchfest audience, it will be cut off at the 2-minute mark. If you’re still talking at 2:01, you’re getting cut off mid-sentence. And that’s not a good look.
So after you record your pitch and then edit it. Tighten it up, cut out the fluff. Make sure you’re saying what you need to say in under 2 minutes. Then watch it back and time it again.
If you’re at 1:55, brava! If you’re at 2:10, keep cutting.
Want a structure to model for those two minutes? Check out How to Structure Your 2-Minute Pitch in our previous post.
Don’t Overthink It
The goal is clarity, not perfection. You want people to see you, hear you clearly, and understand what you’re offering.
You don’t need a professional studio or expensive equipment to achieve that. You just need good audio, decent lighting, clean framing, and a clear message delivered in under 2 minutes.
Record a test video. Watch it back. Adjust as needed. Then record your real pitch.
You’ve got this!
Can’t Make It to Pitchfest Live? Submit Your Video
If you can’t join us live on January 21, 2026, no problem. Record a 2-minute video pitch following these guidelines and submit it when you register. We’ll share it with the room.
Just remember: videos over 2 minutes will be cut at exactly 120 seconds. So keep it tight, keep it clear, and make it count!

Author: Paulette Erato
Cultural narrative disruptor and Latina visibility advocate, Paulette Erato is the founder of Latinas In Podcasting and creator/host/producer of the childfree Latina podcast, La Vida Más Chévere. Book her to speak at your next event from her website https://pauletteerato.com/